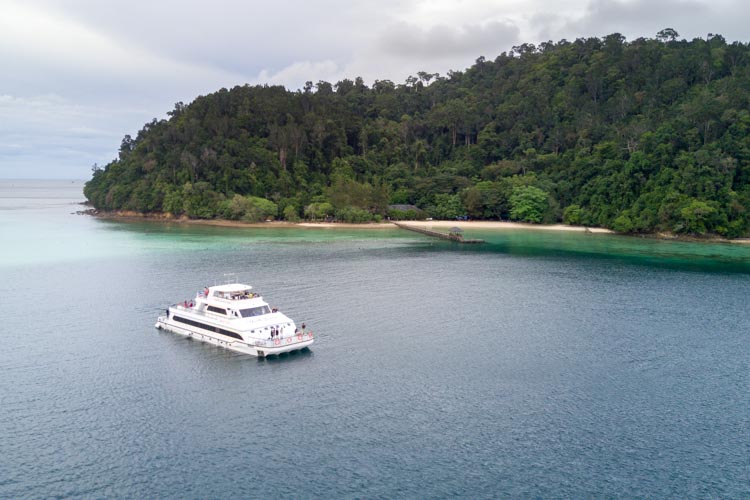
Our Experience On-Board the North Borneo Cruise in Sabah
After hearing so much about the newly launched North Borneo Cruise in Sabah, we’re so excited to finally get to hop on and to experience it for ourselves!
Enjoy a delicious international buffet with a wide array of choices
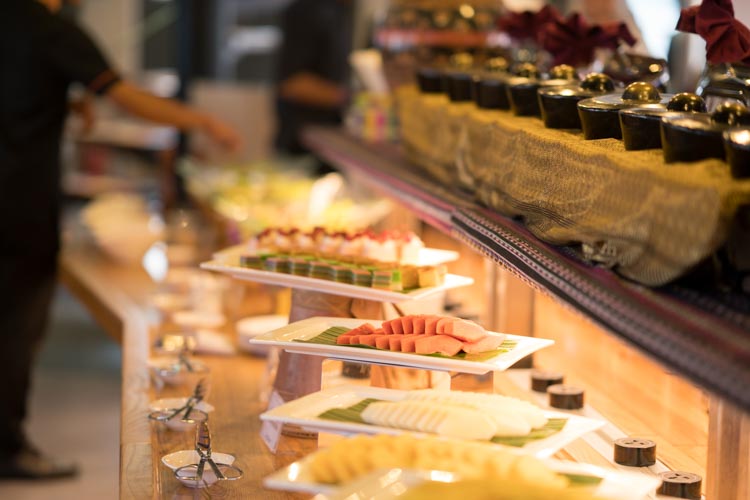
Don’t miss out on the local Nonya kuehs on the other side of the buffet aisle 😉
We really enjoyed the variety of food served during the buffet, from local delights to fresh succulent prawns and Japanese sushi! This would be a great opportunity for those who have yet to taste local Malaysian cuisine. The satay especially is very tasty!
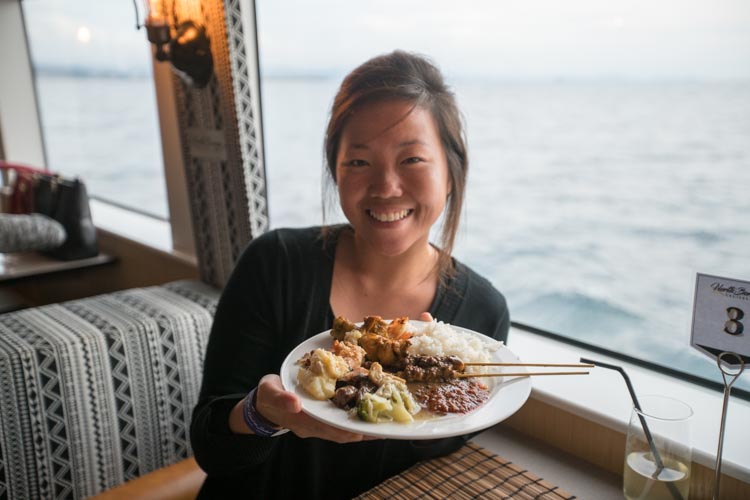
Looking very satisfied with my choices 😀 That was already my second helping 😡
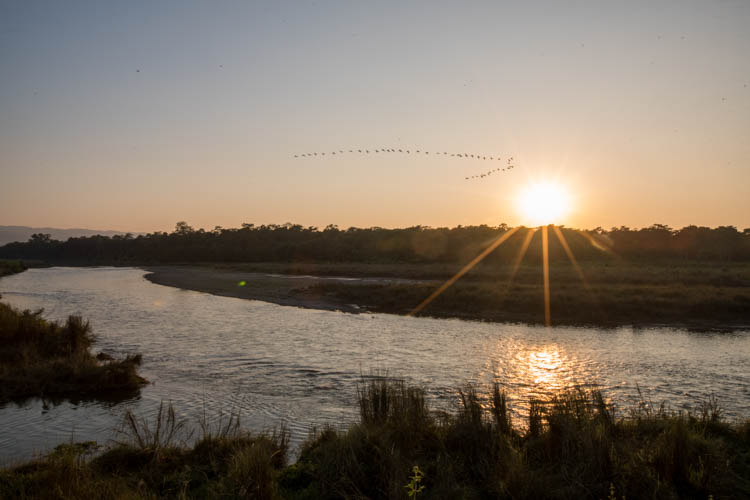
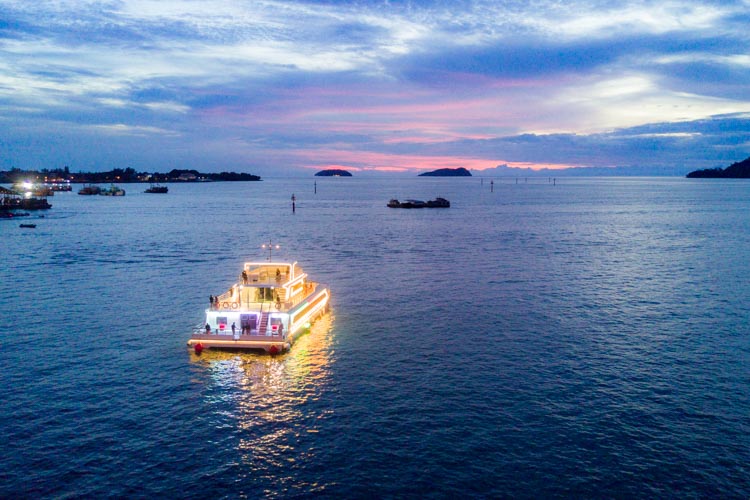
Soak in the most gorgeous sunset as you sail along the waterfront
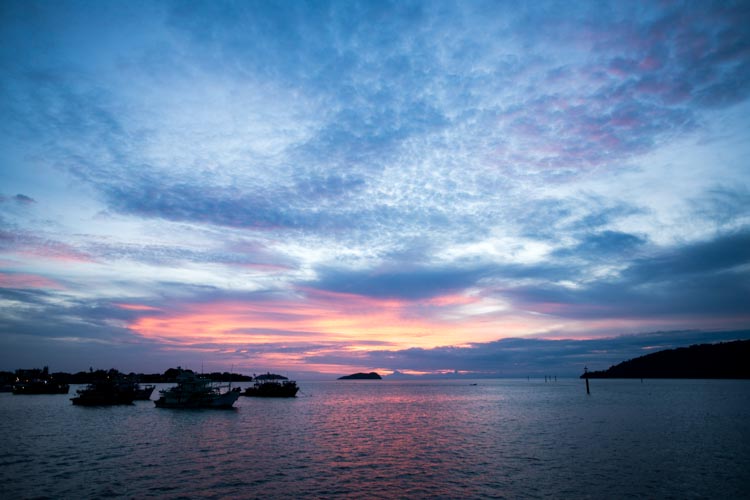
The sky was bursting with beautiful hues of glorious colours!
The sky looked ominous at the start and we were worried that we might not be able to see any sunset at all. But lo and behold, despite the cloudy sky, the sun rays managed to peek through and we were still able to witness a magnificent sunset!
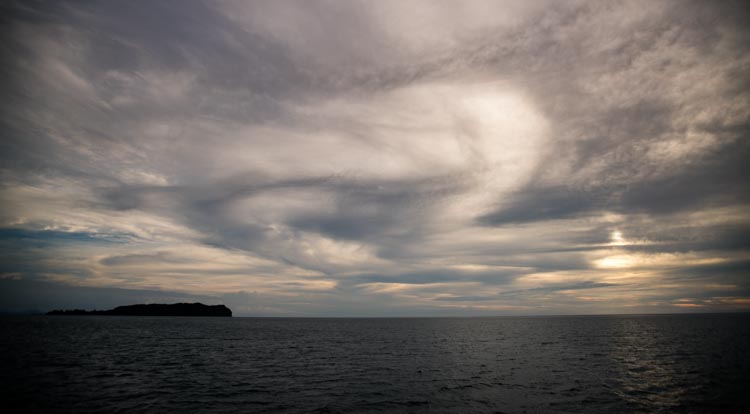
The gloomy and dramatic cloudy sky at the start of our cruise
Groove to the beat of the entertaining live band
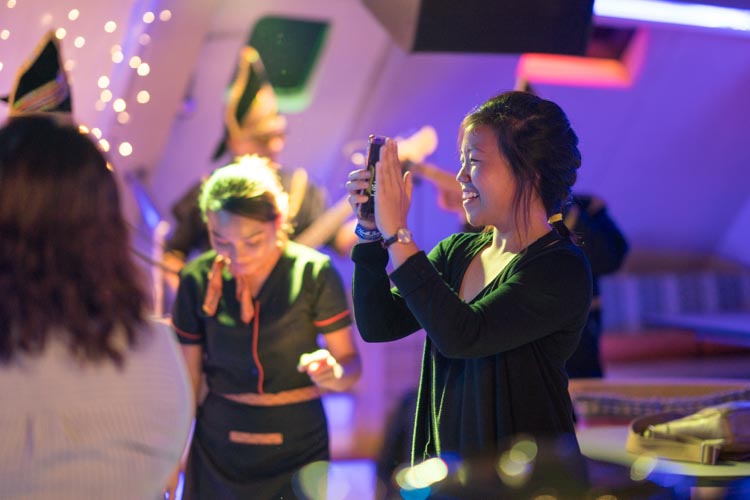
Midway through the cruise, after everyone has gotten their perfect shot of the beautiful sunset, it was time to partayyyy! The atmosphere became a lot livelier with the band playing upbeat tunes!
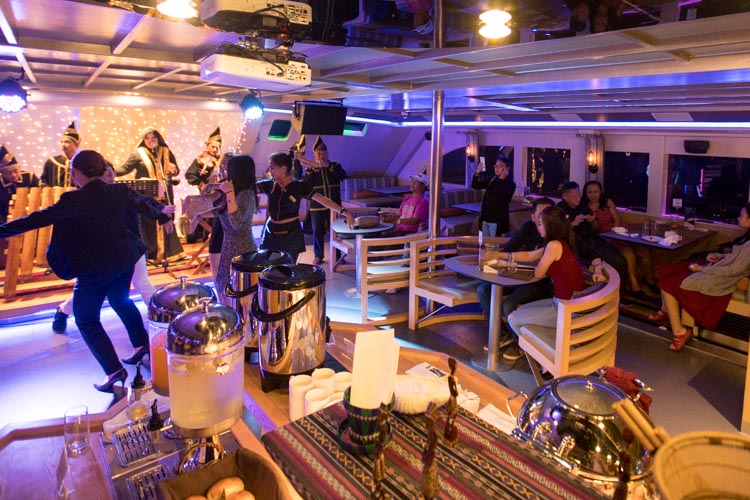
Everybody was dancing like no one was watching and having the time of their life!
Initially when we found out that it was the bamboo orchestra that was playing that night, to be honest, we were slightly disappointed. We thought that the band will end up playing some slow local cultural music. But to our surprise, they actually played quite upbeat songs, and even pop!
For weekday nights, it will usually be a regular live band who will play mostly R&B and pop songs, where you can dance till you drop. But only for weekends, you will get to be entertained by the bamboo orchestra.
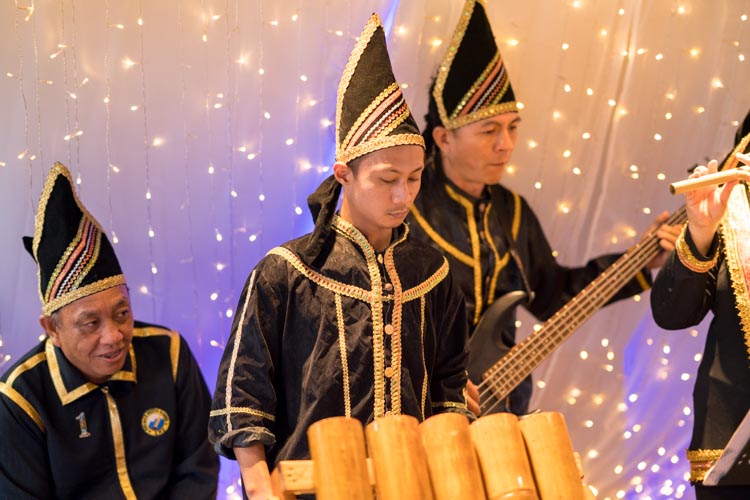
The talented bamboo orchestra! Their instruments were all made of bamboo only!
Simply enjoy the picturesque views as you cruise along
The view before sunset
As you enjoy the food and music, don’t forget to head out once in while to get some fresh air as well as to enjoy the scenery!

Look at how brightly lit our boat was!
And before we know it, it was time to depart. Time passed really quickly!
Essential Information
How to purchase tickets for the yacht
We got our tickets from Amazing Borneo. You can either book directly from their website or email their sales team (info@amazingborneo.com).
How much is the ticket?
Tickets costs around S$122/adult, but there’s a promo now on their website and it’s only $98!
What time to board and how long is the duration
We boarded around 4.30 and returned to shore around 7pm. Our only qualm is that the cruise time is too short, wished it was longer!
Where to stay in Kota Kinabalu
We stayed at Grandis Hotel which was located very near to the jetty where the cruise departed from. The rooms were very spacious and overall we had a very good night sleep here! The breakfast spread was good too!

Our spacious room at Grandis Hotel in Kota Kinabalu